Related products
-
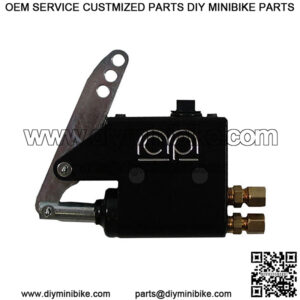
Brakes and Accessories
Billet Hydraulic Brake Master Cylinder – Black
-
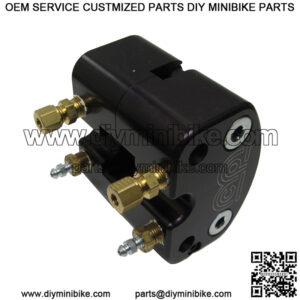
Brakes and Accessories
Billet Hydraulic Brake Caliper – Clear
-
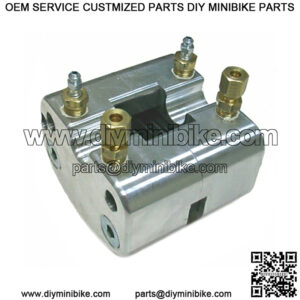
Brakes and Accessories
Billet Hydraulic Brake Caliper – Black
-
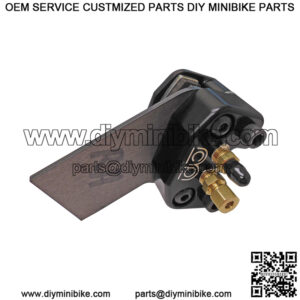
Brakes and Accessories
Big Bore Front Hydraulic Caliper